🇨🇳中文 | 🇬🇧English
📝 Configuration item
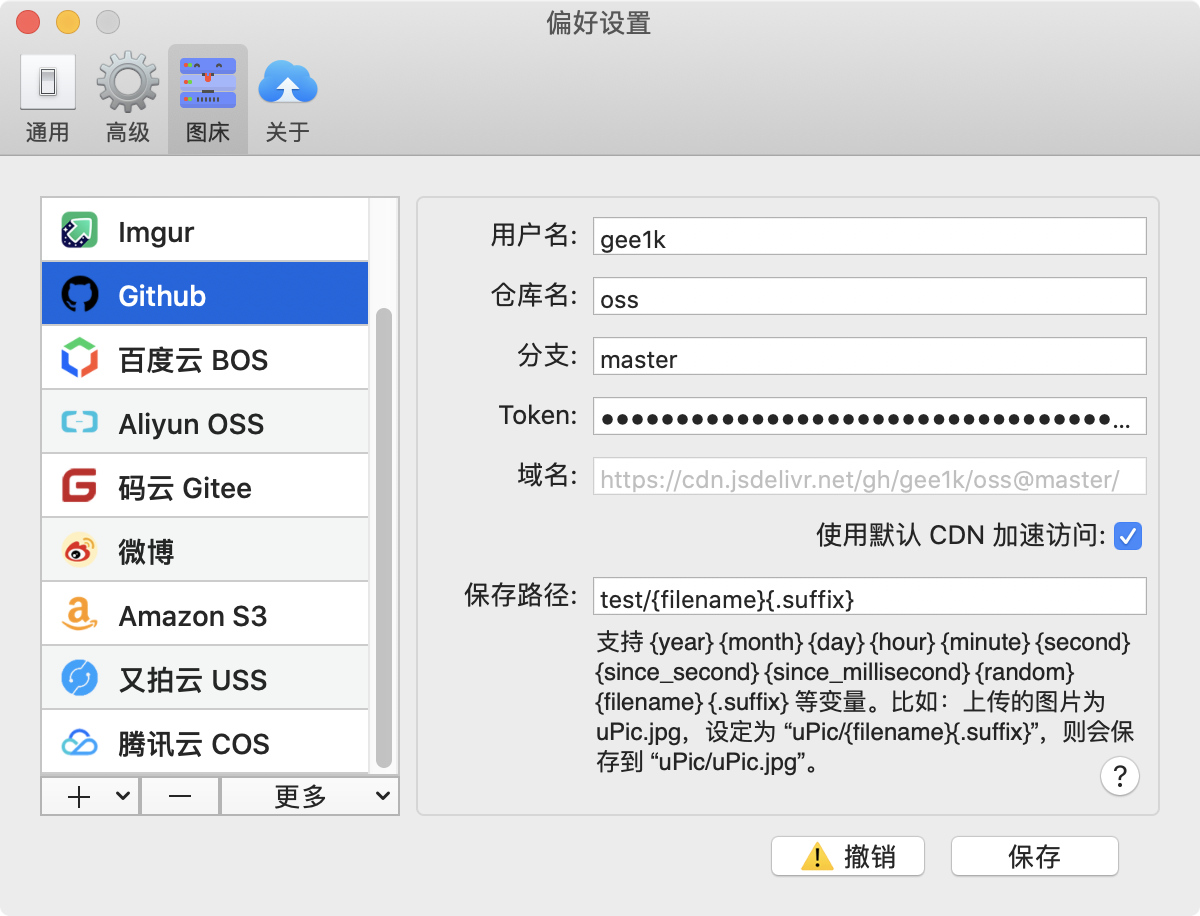
Owner: Github username.
Example:My Github main page https://github.com/gee1k,my username isgee1kRepo: The name of repo which you want to upload files.
Example:my Repo’s URL=https://github.com/gee1k/oss,andossis the name of Reop.Branch:masteris the name of Branch by default,if you want to upload to others,please establish first.Token: Github personal access tokens.Domain: You can’t set domian name by default and will use your Github default URL.When you make the Rpeo’s function ofpagesavailable and set up custom domain,you can use your own domain now.Use the default CDN to speed access: When checked,jsdelivrCDN is automatically used for accelerated access
Save Key: The path to file storage (including folders).Supports {year} {month} {day} {hour} {minute} {second} {since_second} {since_millisecond} {random} {filename} {.suffix} and etc. For example, the uploaded file is uPic.jpg, set to \"uPic/{filename}{.suffix}\", it will be saved as: uPic/uPic.jpg.
🔑 Token - How can I get it
- 1.Access Github Token set page
- 2.Select
repoaccess permission,then scroll to the bottom of the page,hitGenerate tokenbutton to make token.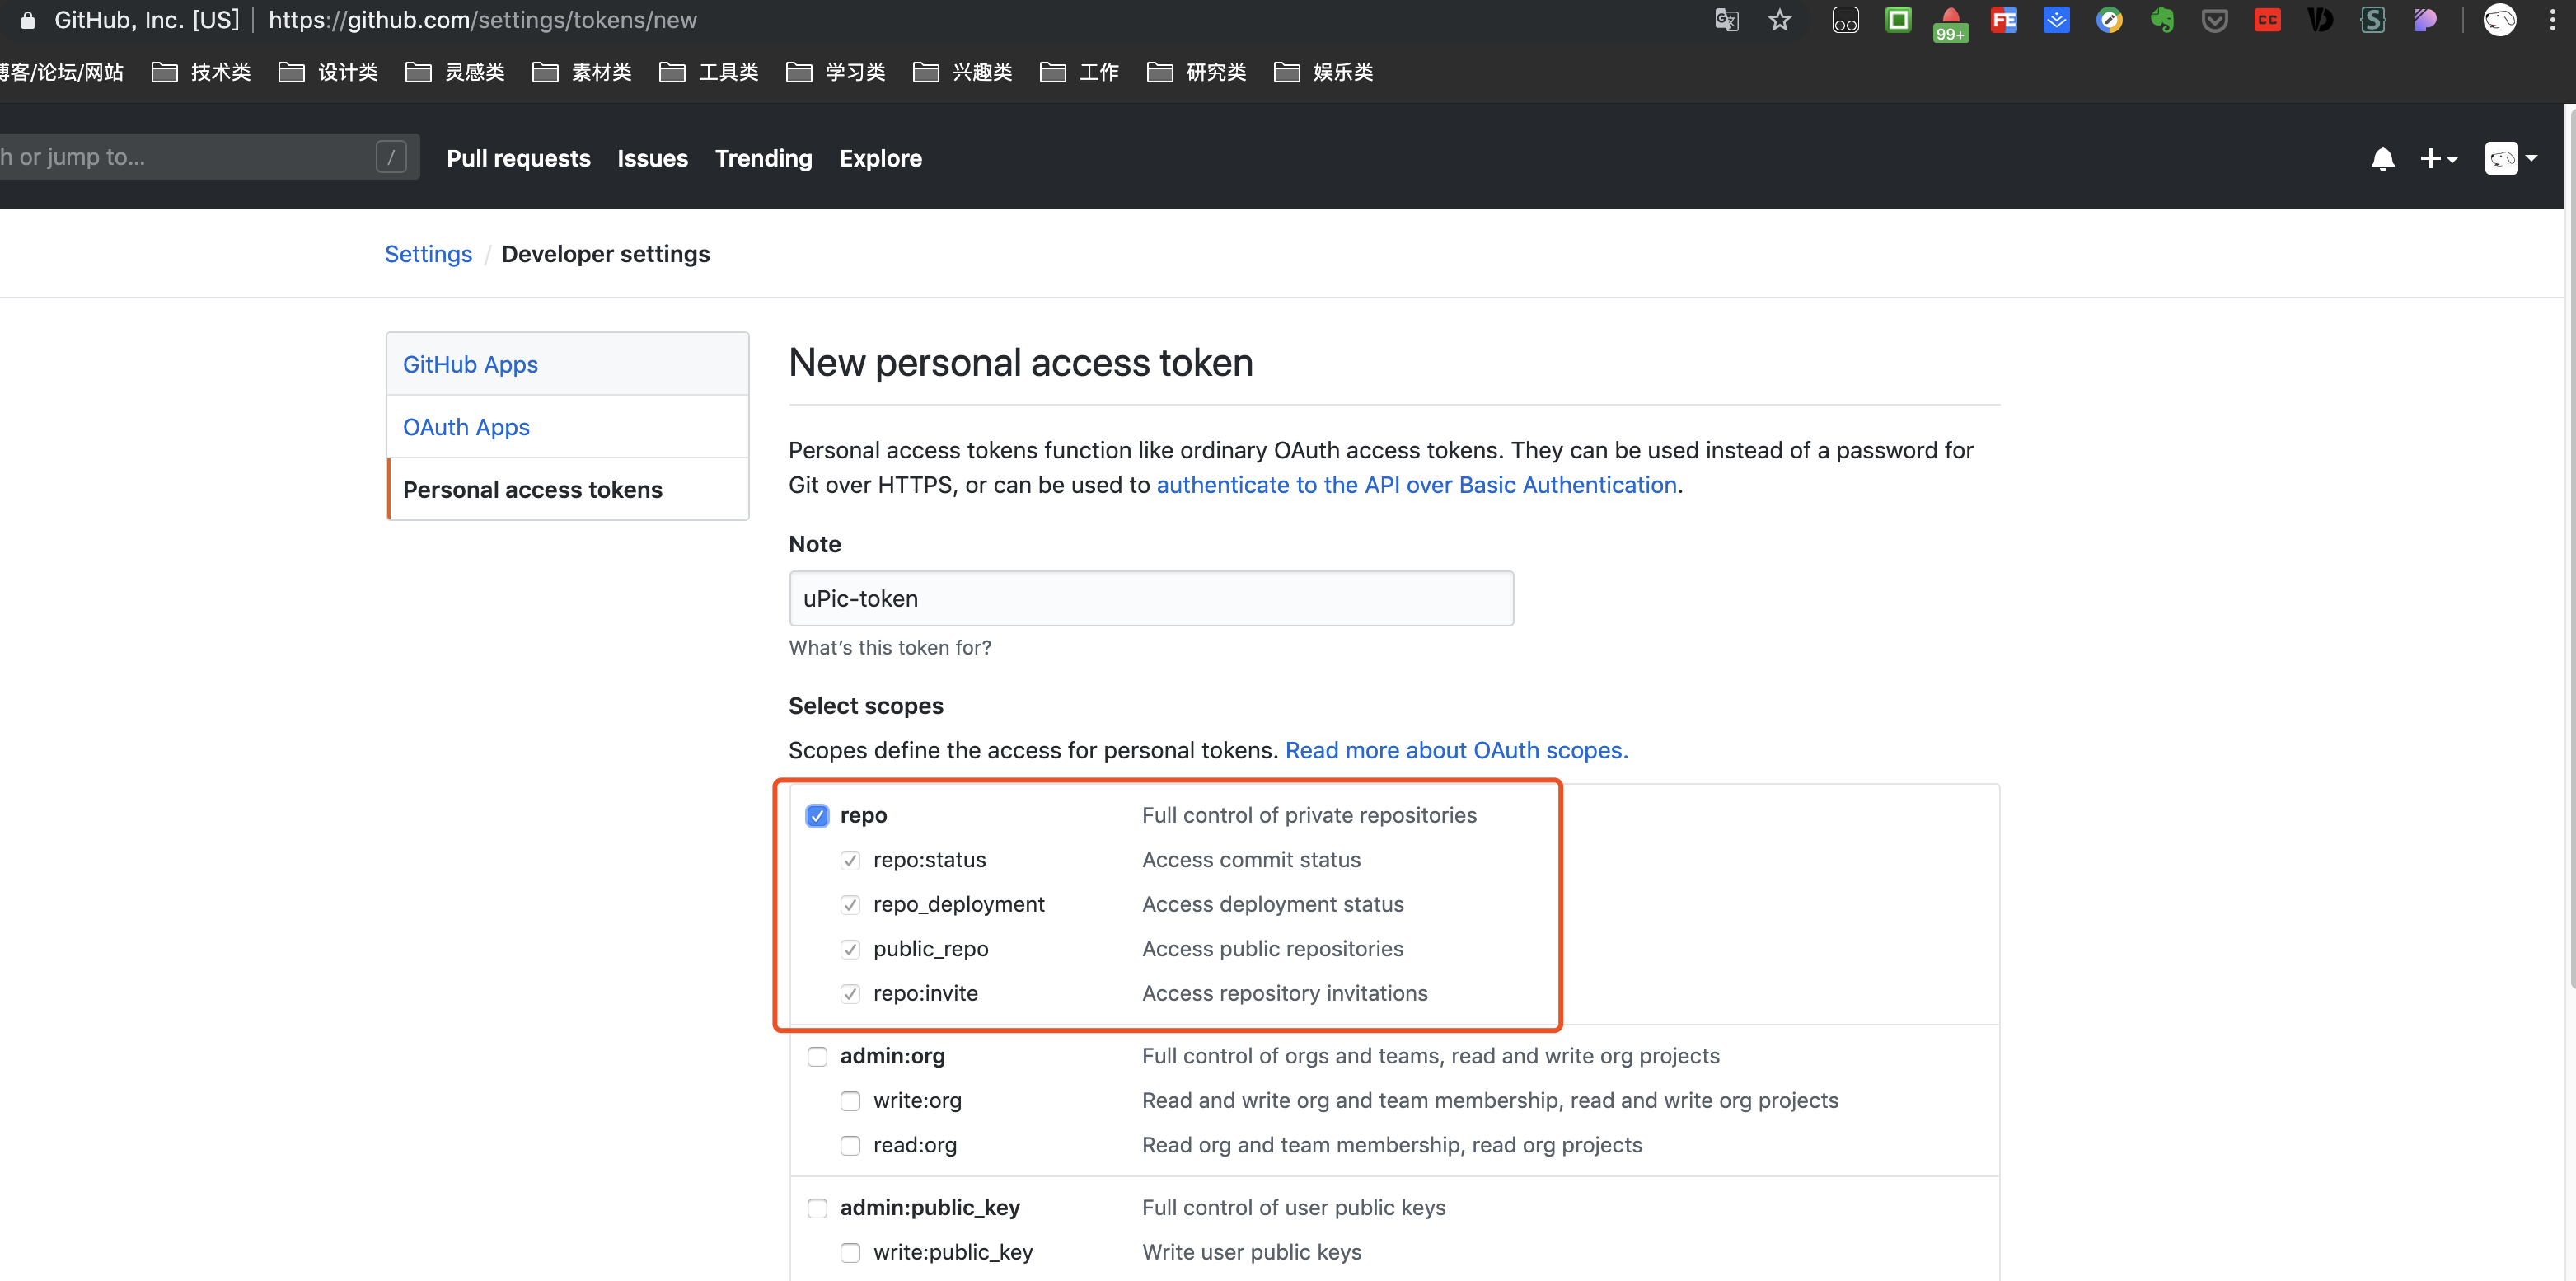
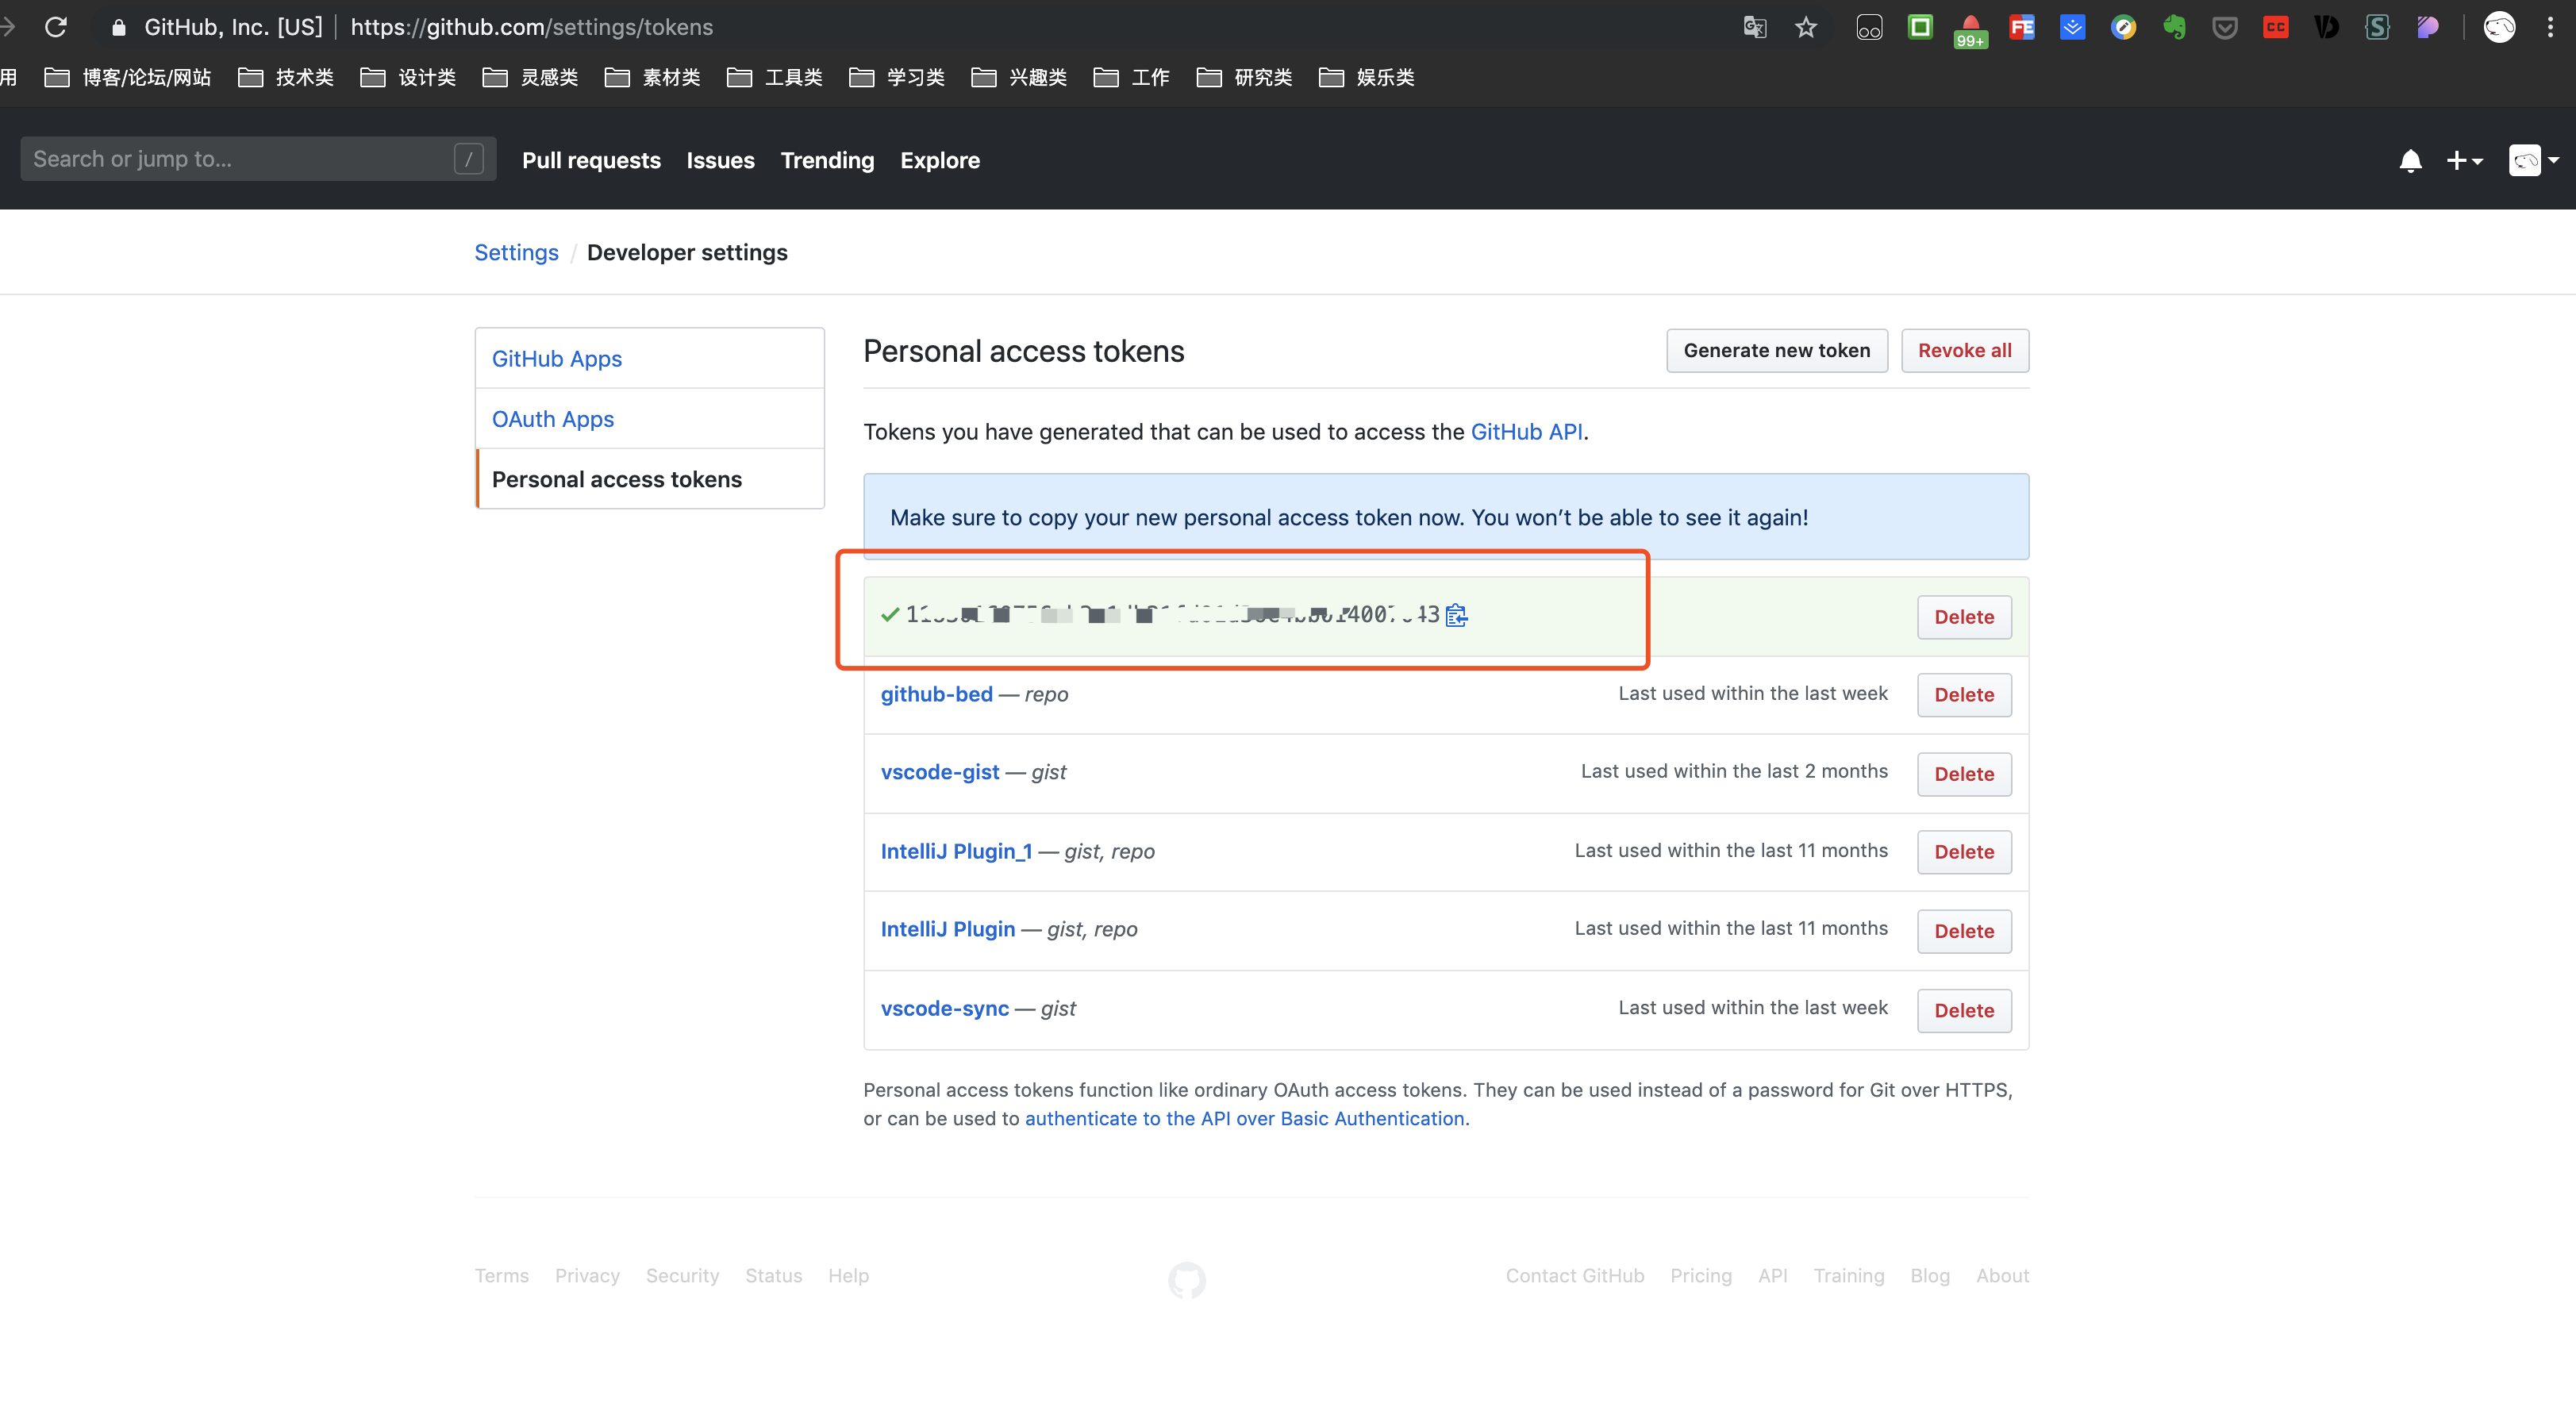
- 3.Copy the Token to uPic
Attention:This Token shows one time only!Keep it carefully,otherwise you need reset one~
🌝 Almost there!
Save and choose the image hosting you configurate before on menu bar——image hosting bar,try to upload a image~
After successful upload,file/image will shows in your Github Repo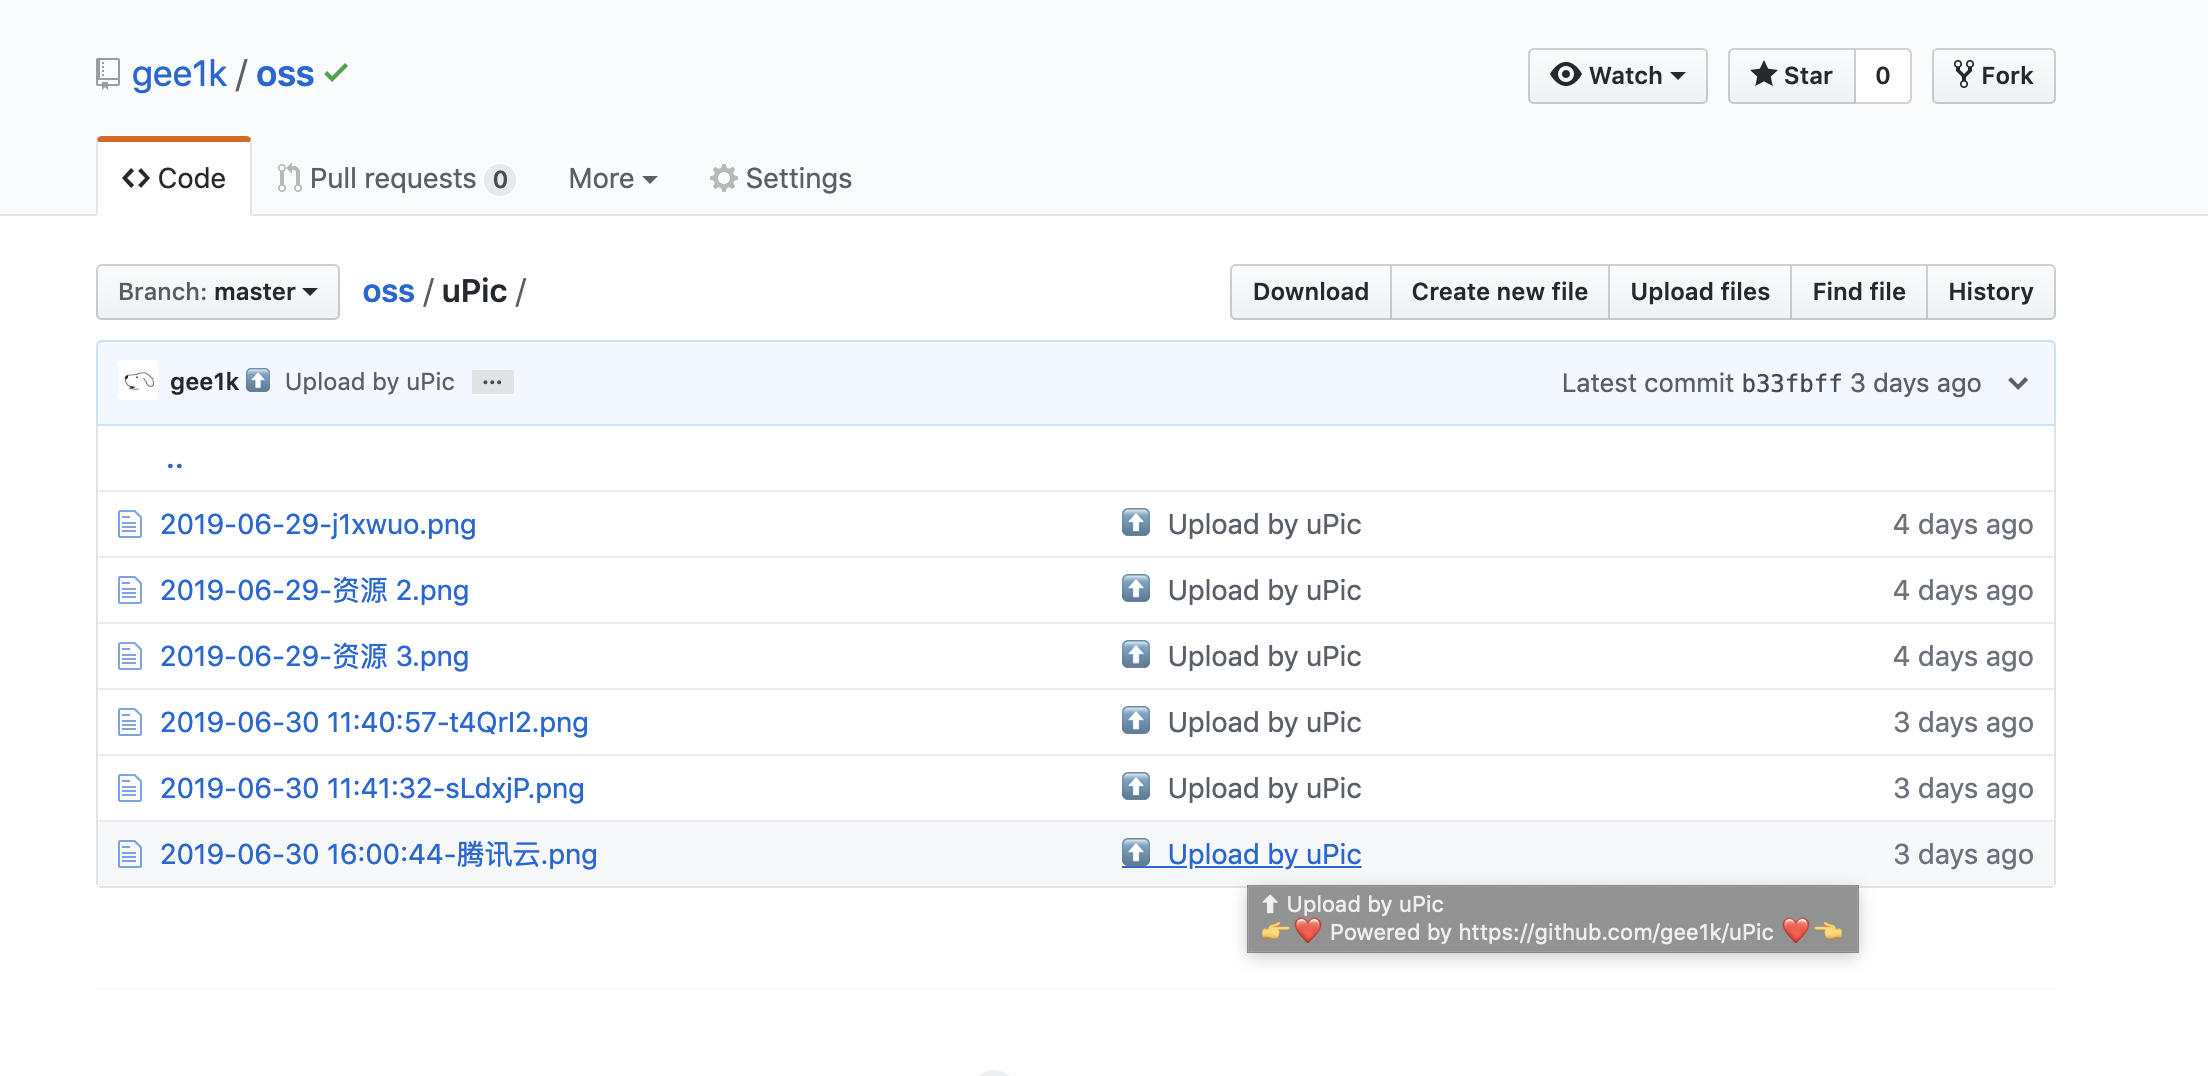
💌 Wechat chatting group
↓scan the QR code below and join in the group!↓